Cómo integrar Expedy Print con Zapier
Antes de empezar: necesita una cuenta Expedy y una impresora activa en ella. ¿Todavía no la ha añadido? Siga la guía de su equipo, Expedy XPDY80, HSPOS, Star Micronics o Raspberry Pi.
Conecte Expedy Print a miles de aplicaciones y active impresiones automáticas a partir de cualquier evento, sin necesidad de programar.
Ejemplos de lo que puede automatizar:
- Imprimir una hoja de preparación con cada nuevo pedido (Amazon Seller, eBay, Wix...)
- Imprimir una etiqueta de envío cuando su estado cambia a "Ready to print" (Packlink, ShippyPro...)
- Imprimir un documento en cuanto se guarda en una carpeta (Google Drive, Dropbox, OneDrive...)
- Imprimir una foto con cada nueva publicación (WordPress, Instagram, Facebook, Flickr...)
¿Qué es Zapier?

Zapier es una plataforma de automatización online que conecta aplicaciones y servicios sin ninguna programación. Funciona creando flujos de trabajo automatizados llamados Zaps: cada Zap activa una acción en una aplicación en respuesta a un evento ocurrido en otra.
Zapier es gratuito hasta 100 tareas al mes.
Crear un Zap con Expedy Print
Paso 1, crear una cuenta Zapier
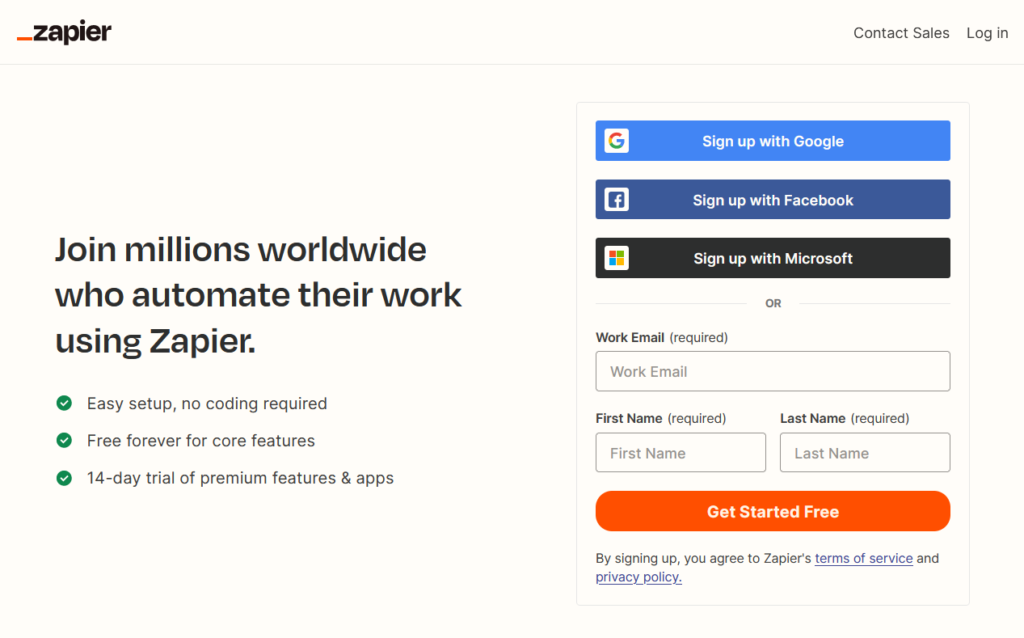
Regístrese en zapier.com con su email, o utilice su cuenta de Google, Facebook o Microsoft.
Paso 2, crear un nuevo Zap
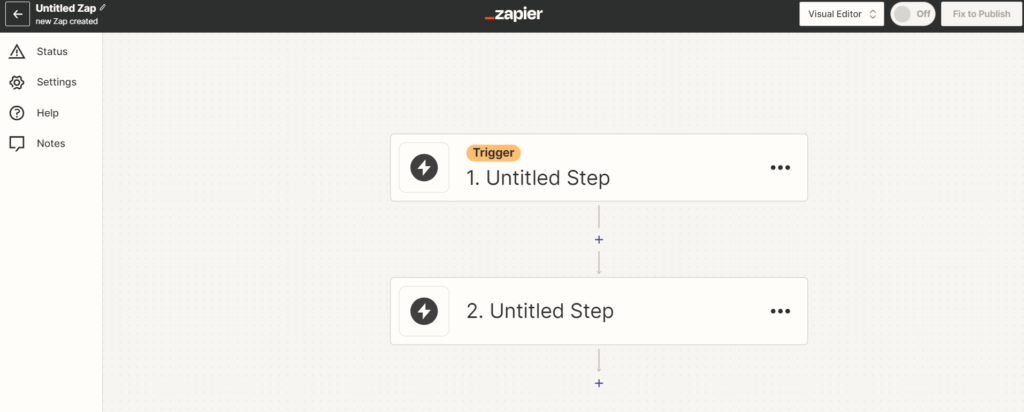
Vaya a la sección Zaps y haga clic en Create a Zap.
Paso 3, elegir la aplicación desencadenante
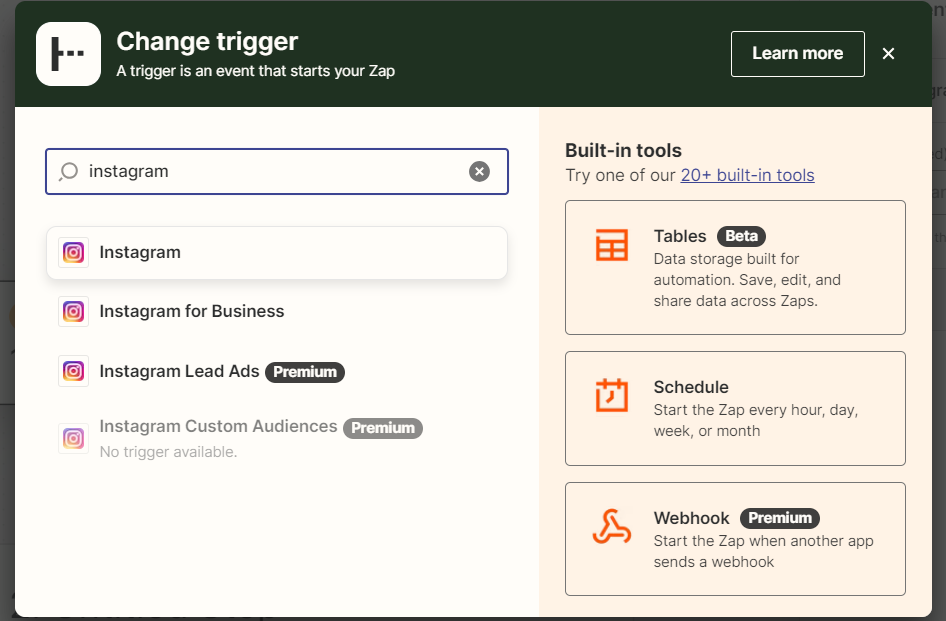
Haga clic en Trigger y seleccione la aplicación que iniciará la automatización. En este ejemplo, utilizamos Instagram.
Paso 4, elegir el evento desencadenante
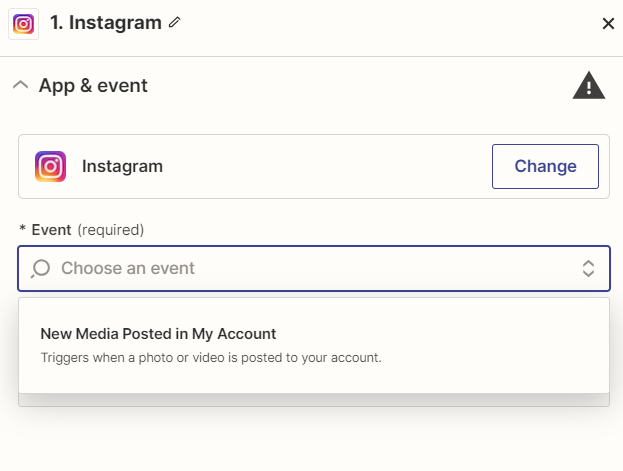
Seleccione el evento que activará la impresión. Aquí: New post published.
Paso 5, añadir Expedy Print como acción
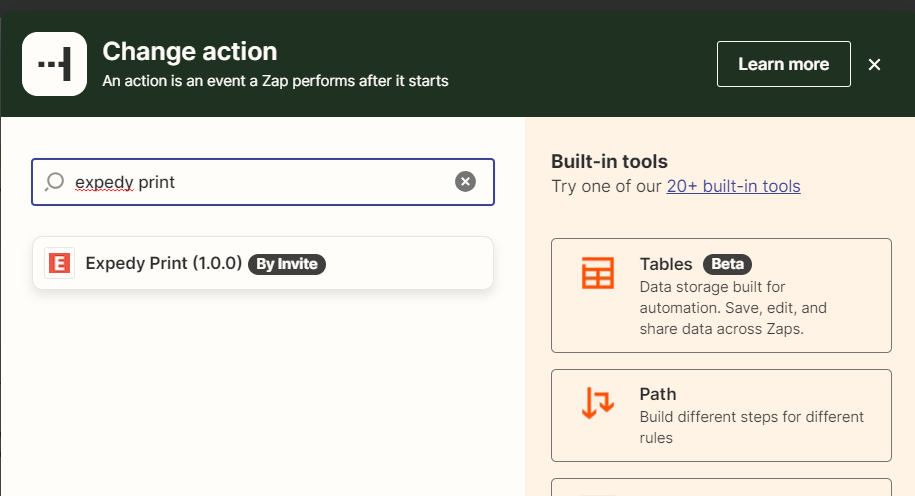
En el paso de acción, busque y seleccione Expedy Print.
Paso 6, seleccionar el evento de acción
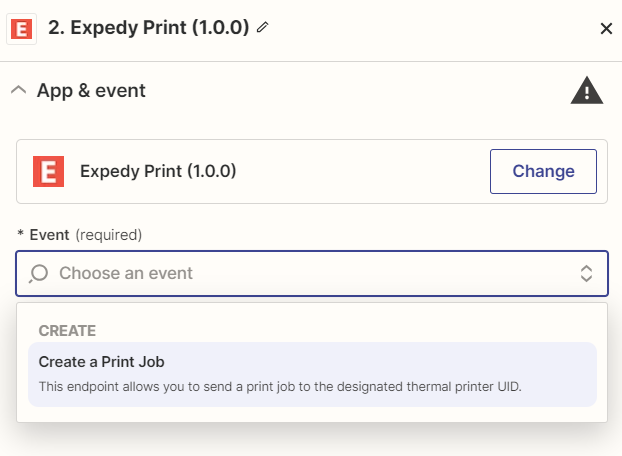
Seleccione Create a Print Job.
Paso 7, conectar su cuenta Expedy
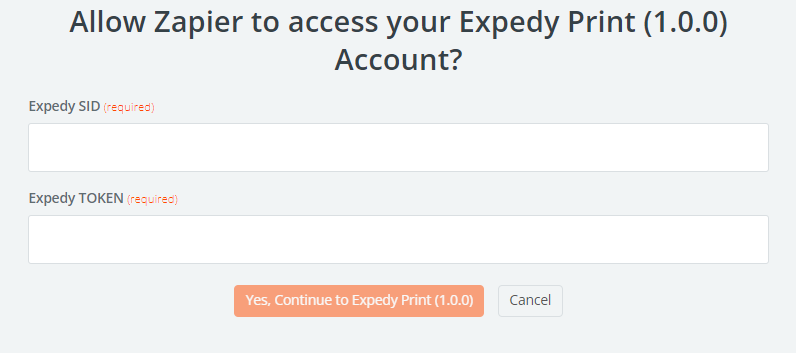
Cree una nueva conexión introduciendo sus API SID y TOKEN, disponibles en la consola Expedy en la sección API.
Paso 8, configurar la impresión
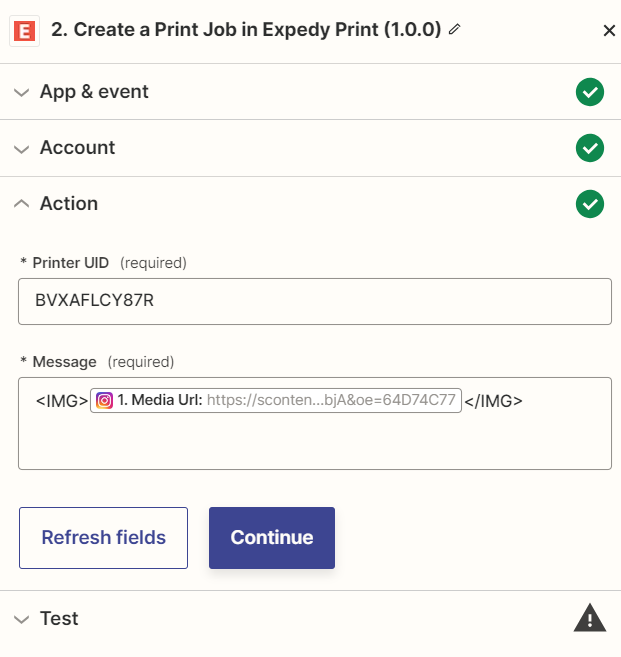
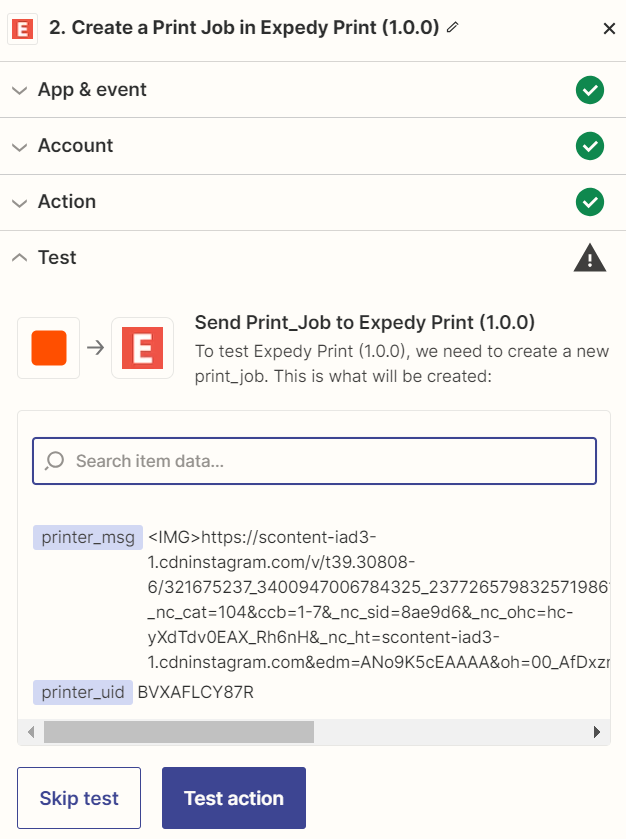
Introduzca su Printer UID, disponible en la consola Expedy en la sección Printers. Componga después el mensaje con los datos que desea imprimir. Utilice la etiqueta <IMG> para imprimir una imagen, o las etiquetas de diseño del ticket para dar formato al texto.
Paso 9, probar y publicar
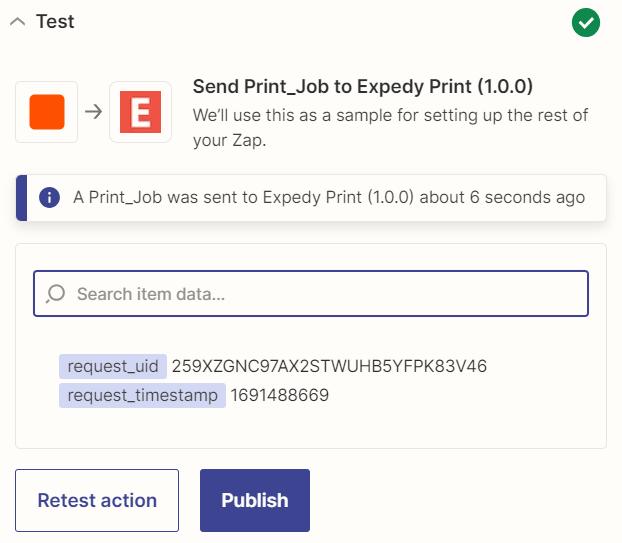
Haga clic en Test action. Un mensaje de éxito confirma el envío de la impresión. Si obtiene un error, vuelva a comprobar sus claves API y el Printer UID. Haga clic después en Publish para activar su Zap.
Verificar la impresión
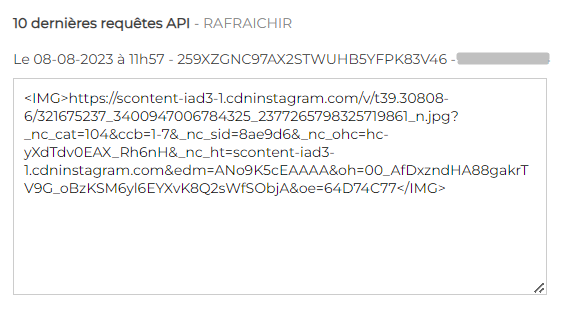
Puede confirmar la recepción de la impresión en la consola Expedy en Printers → Seleccionar la impresora → Print Jobs History.
¿Necesita ayuda para dar formato a sus tickets? Siga la guía de diseño del ticket.
También puede añadir filtros y condiciones a sus Zaps para gestionar escenarios de automatización más avanzados. ¿Alguna pregunta? Contáctenos.