Order Print Settings: personalización del ticket
Personalice el contenido de sus tickets impresos en unos pocos clics, añada su logotipo, sus datos de empresa, un pie de ticket y mucho más, directamente desde la consola Expedy.
✅ Disponible para: Shopify, GoodBarber, Wix y HubRise
Para las demás integraciones, consulte: PrestaShop · WooCommerce · WooCommerce WCFM · API · Zapier · Diseño del ticket
Acceder a Order Print Settings
- Inicie sesión en la consola Expedy
- Vaya a Printers
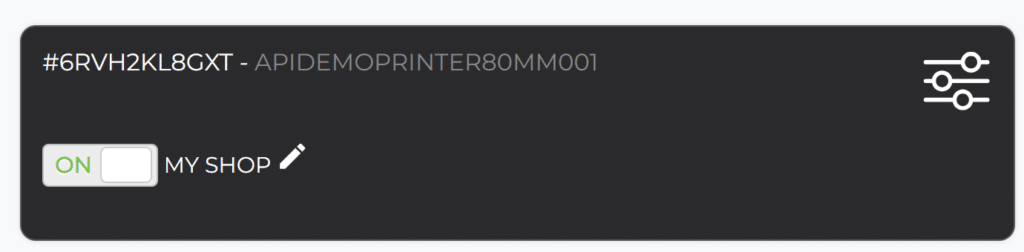
- Seleccione la impresora que desea configurar
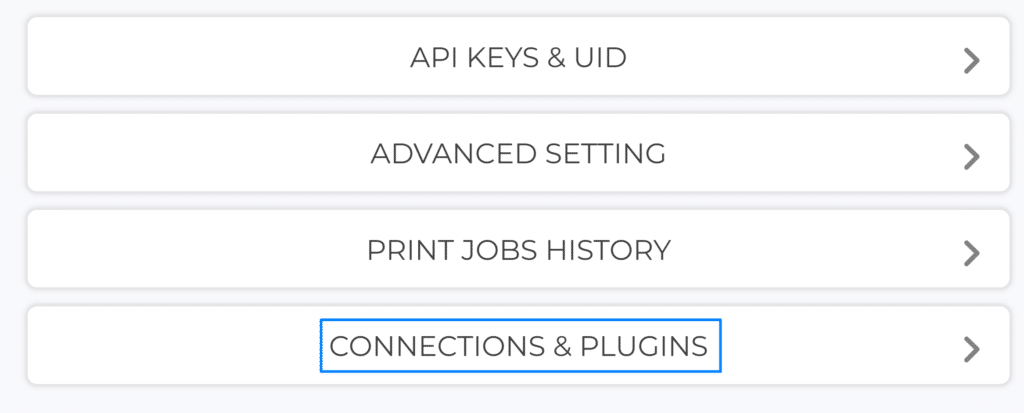
- Abra la pestaña Connections & Plugins
Cabecera del ticket
Zona horaria
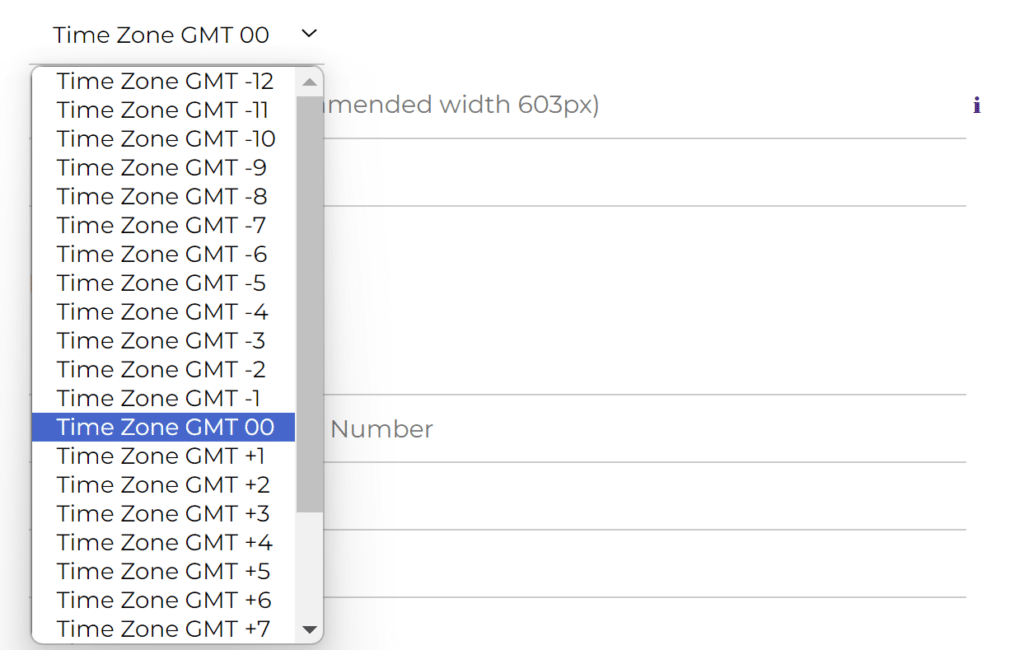
Configure la zona horaria correcta para que los tickets muestren la fecha y hora adecuadas.
Logotipo
Añada el logotipo de su establecimiento o cualquier imagen en la parte superior del ticket. Consulte los requisitos de imagen para el formato y las dimensiones.
Nombre de la empresa
El nombre de su tienda o un título personalizado que se muestra en la parte superior del ticket.
Pie del ticket
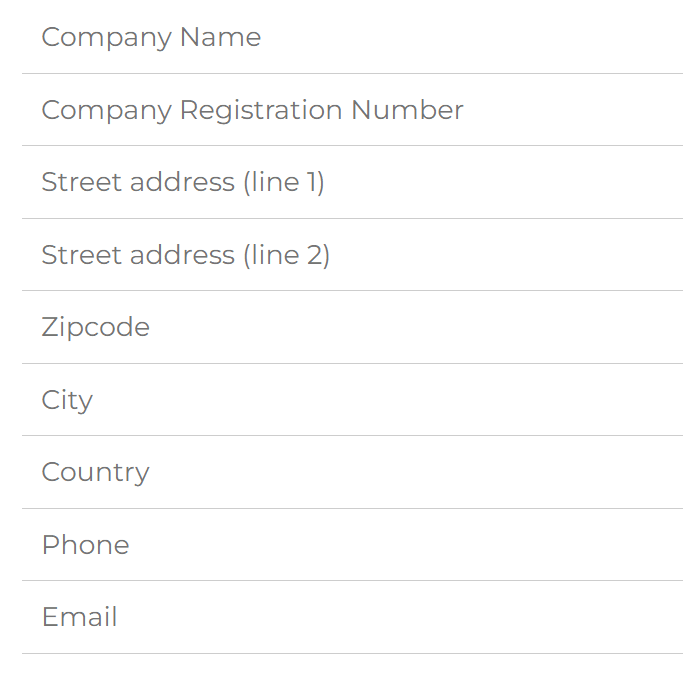
Añada cualquier información de empresa que desee mostrar al final de cada ticket:
- Razón social
- Número de registro de la empresa
- Dirección postal
- Datos de contacto (teléfono, email, etc.)
Todos los campos son opcionales y de texto libre.
Opciones avanzadas
Copias del ticket
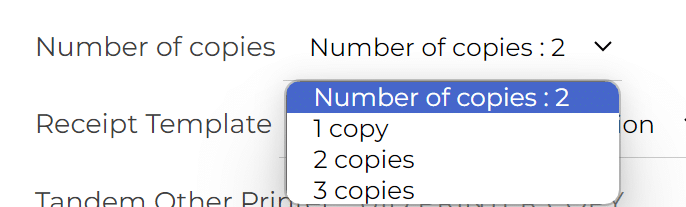
Defina el número de copias que se imprimen automáticamente con cada pedido.
Plantilla de ticket
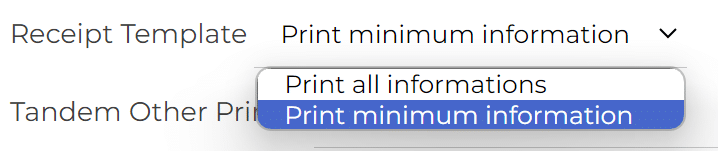
Elija el diseño que mejor se adapte a su forma de trabajar.
Impresora tándem
Añada una segunda impresora para imprimir automáticamente una copia de cada ticket. Introduzca el UID de la segunda impresora, que debe estar ya añadida a la misma cuenta Expedy.
Notificaciones SMS de pedido (solo Francia)
Introduzca uno o varios números de móvil para recibir un SMS con cada nuevo pedido. Separe los números con puntos y comas.
ℹ️ Este servicio solo está disponible en Francia y se factura a 0,10 € por SMS. Contáctenos para activarlo.