Print GoodBarber eCommerce orders via Zapier
GoodBarber eCommerce connects to Expedy PRINT through Zapier. Every new order placed in your app or your web store triggers a print job, and the ticket comes out of your cloud printer within seconds.
The native GoodBarber webhook described in earlier versions of this guide is no longer used. Zapier is now the only supported route.
What you need
- An Expedy account with an active printer. Not added yet? Follow the guide for your machine, Expedy XPDY80, HSPOS, Star Micronics or Raspberry Pi
- A GoodBarber eCommerce account
- A Zapier account, free up to 100 tasks per month
Depending on your setup, this connection may be handled by your partner or your agency. Check with them before you start.
Step 1, Create the Zap
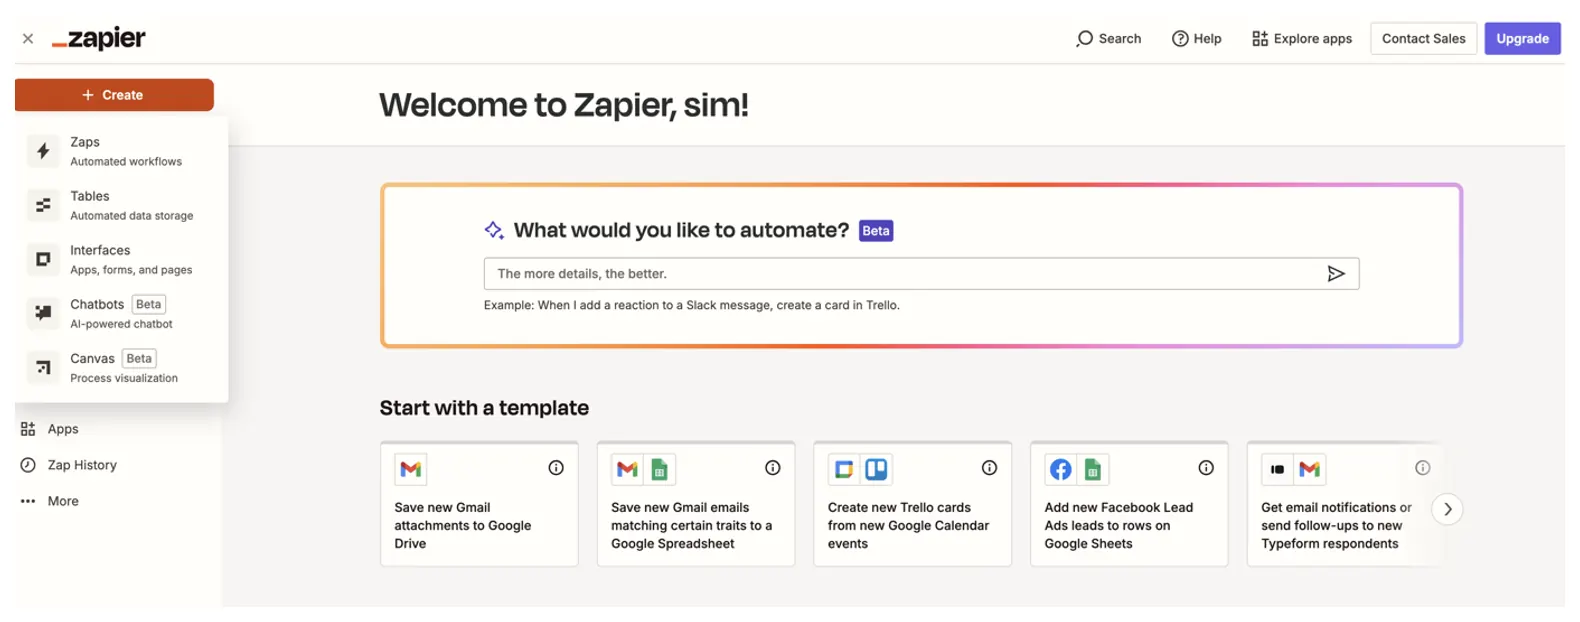
Log in to Zapier, click + Create in the left menu, then Zaps.
Step 2, Set GoodBarber eCommerce as the trigger
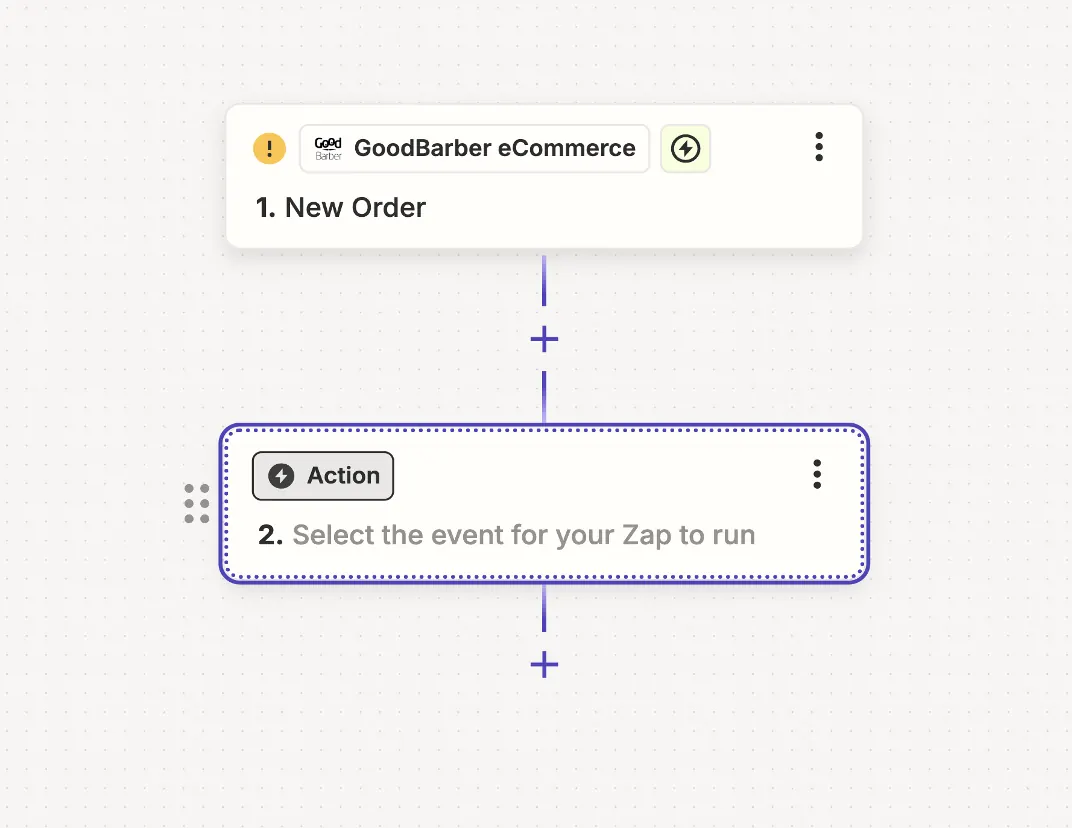
In the Zap editor, click the Trigger block, Select the event that starts your Zap.
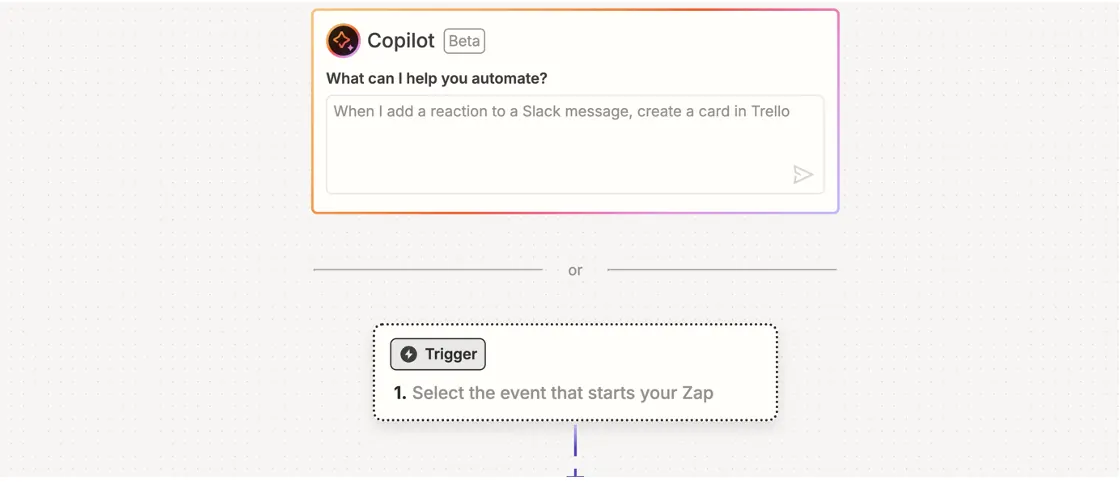
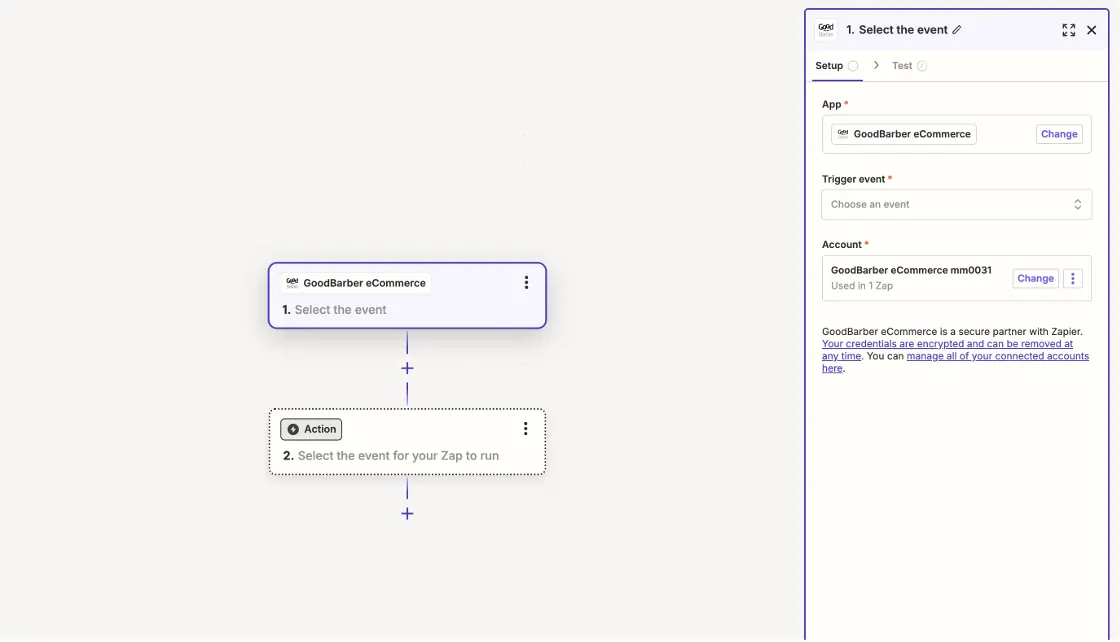
Search for and select GoodBarber eCommerce, then choose New Order as the trigger event.
Step 3, Connect your GoodBarber account
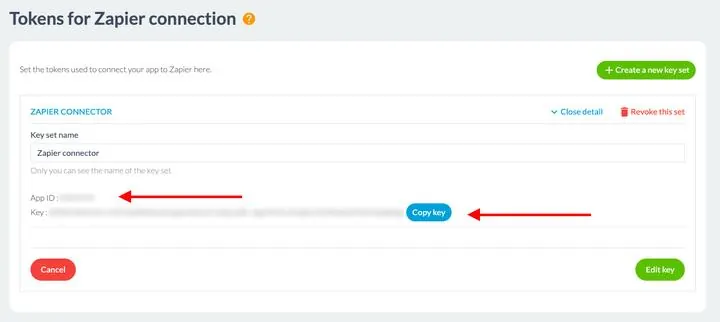
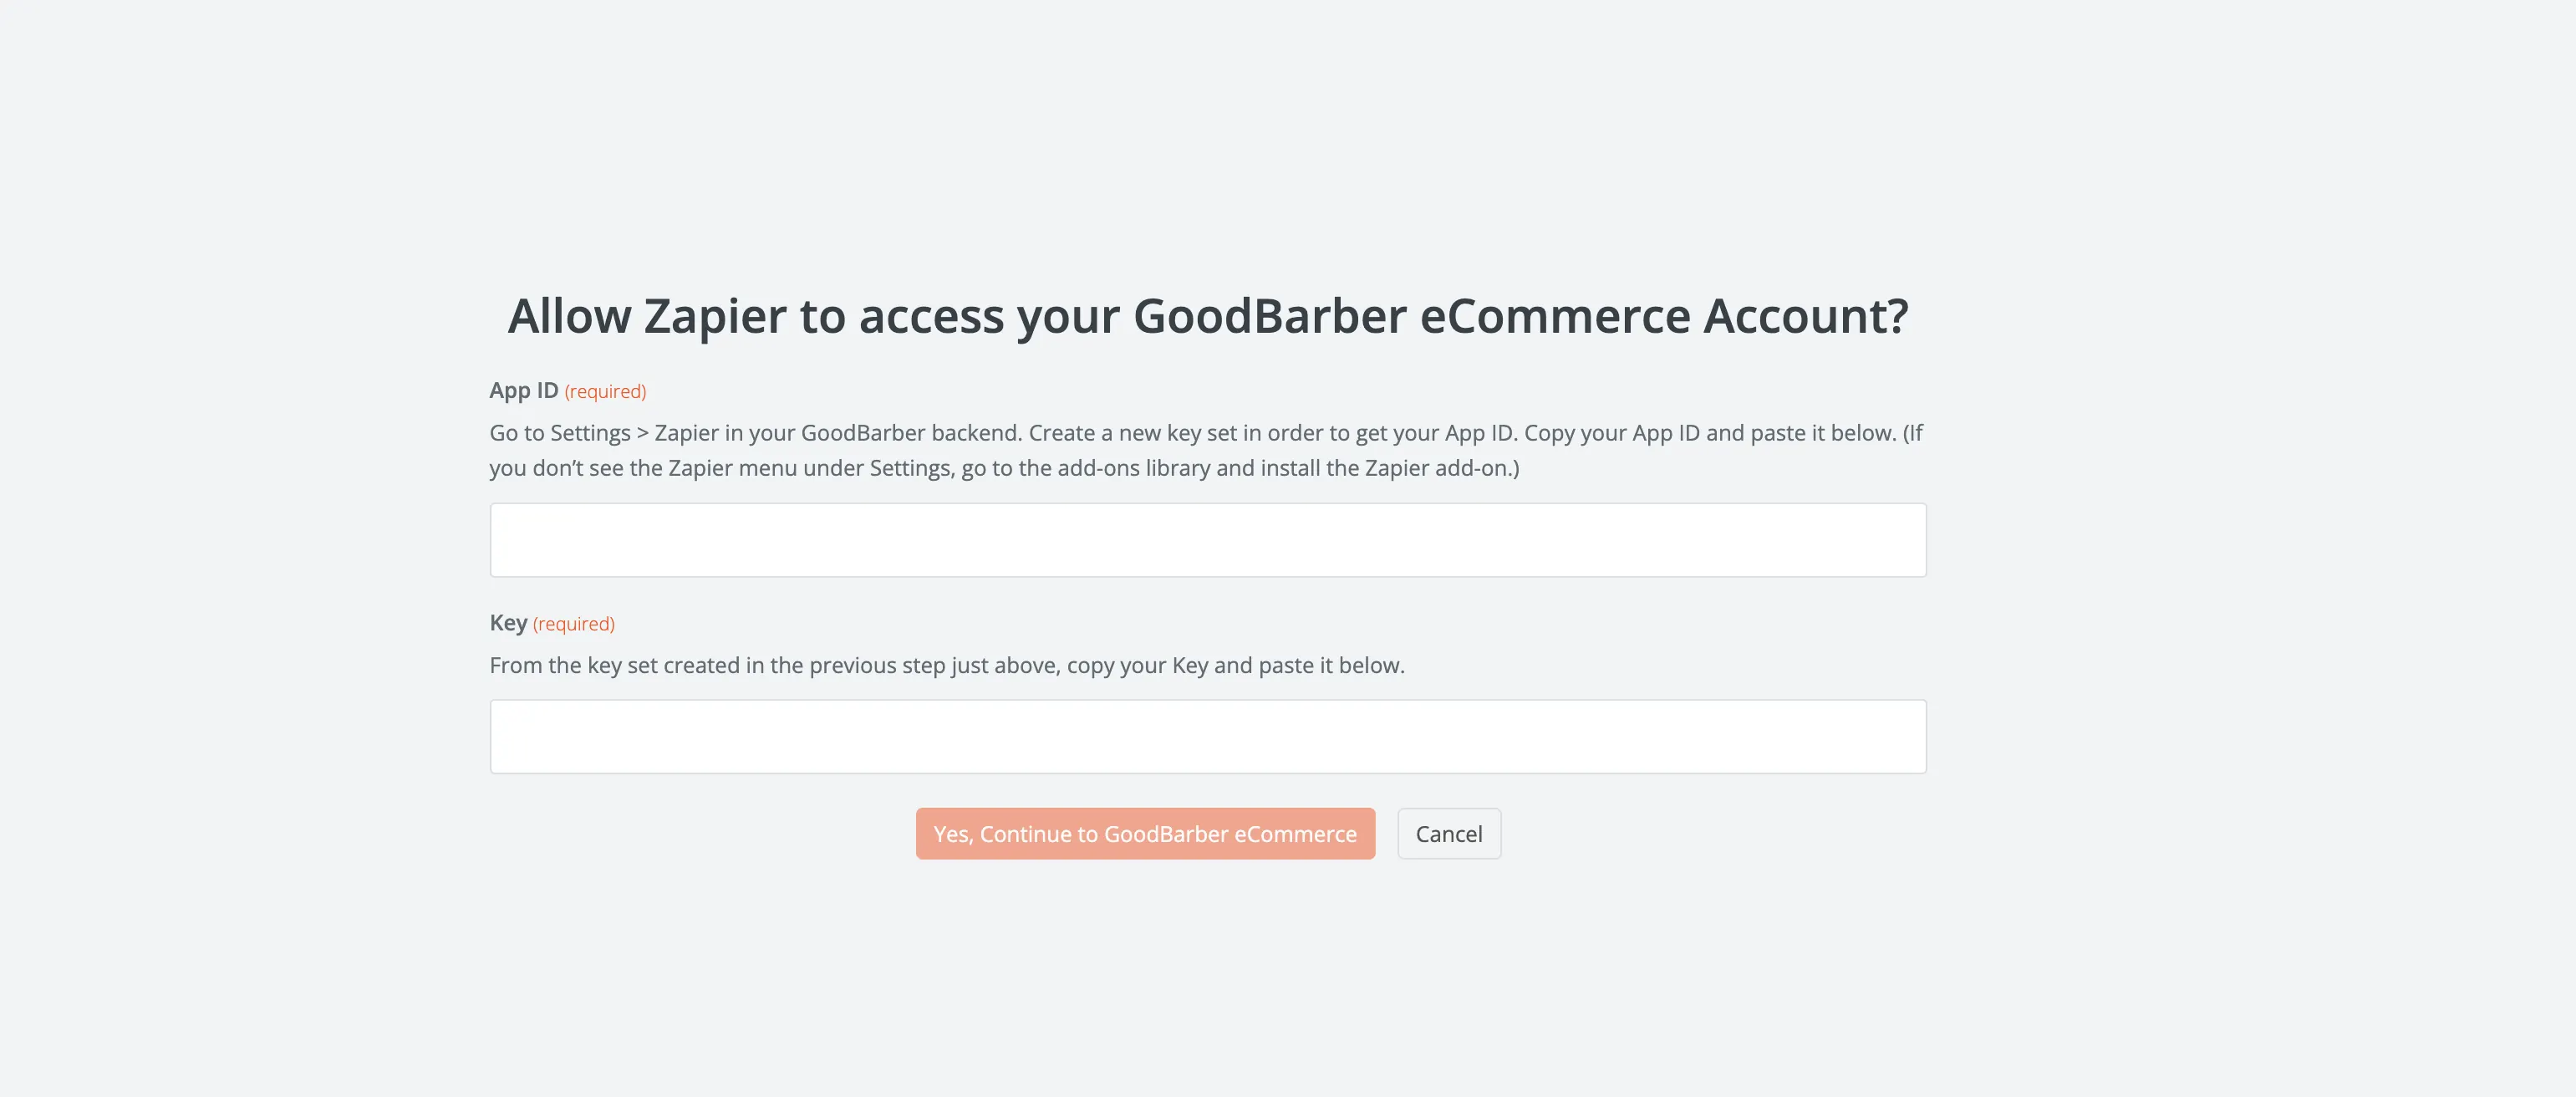
Zapier asks for the App ID and the Key of your GoodBarber store.
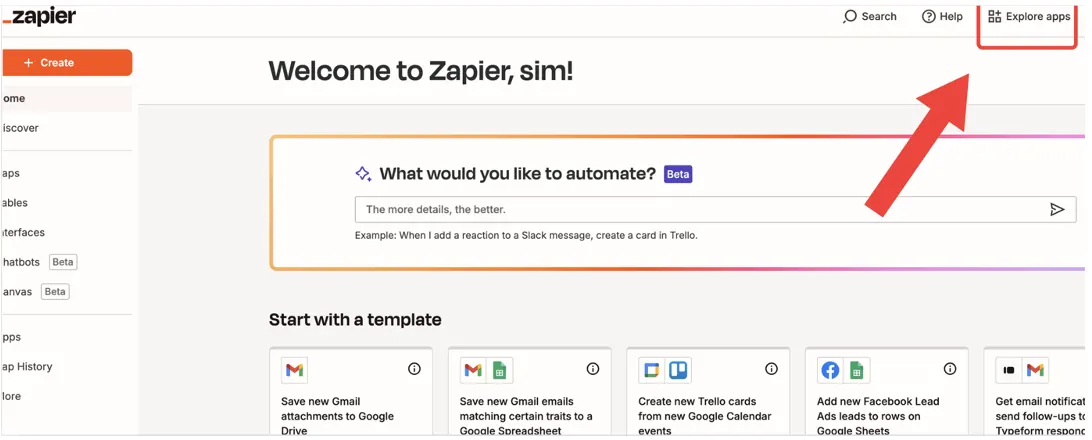
Open the Explore apps menu in Zapier and search for GoodBarber eCommerce.
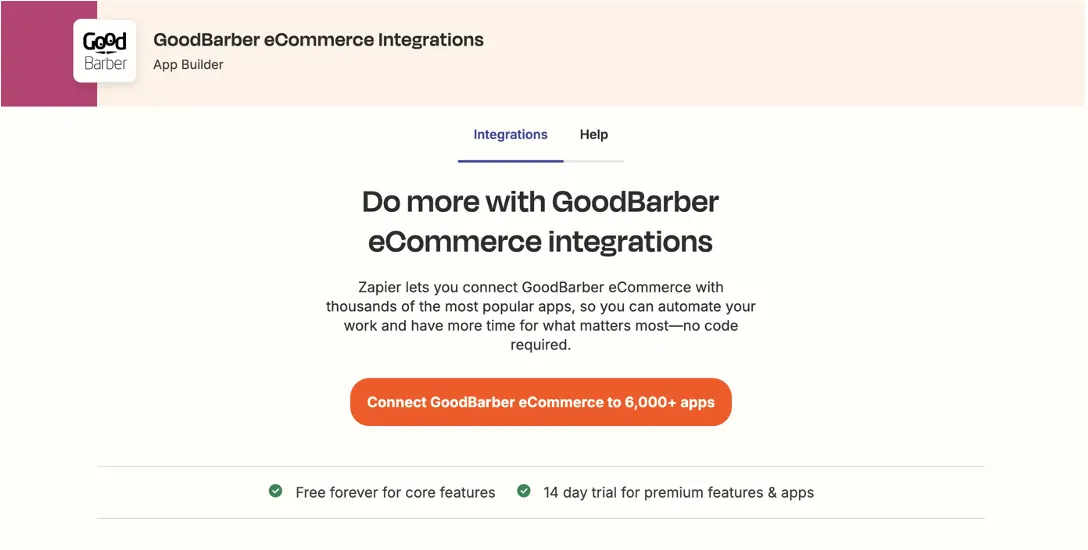
Then, in your GoodBarber back office:
- Open the Extensions Store and install the Zapier extension if it is not there yet
- Go to Settings, Zapier
- Click Create a new key set, the App ID and the Key appear
- Copy both values
Paste them into the Zapier dialog, then click Yes, Continue to GoodBarber eCommerce.
The trigger is configured, the block now reads 1. New Order.
Step 4, Add Expedy Print as the action
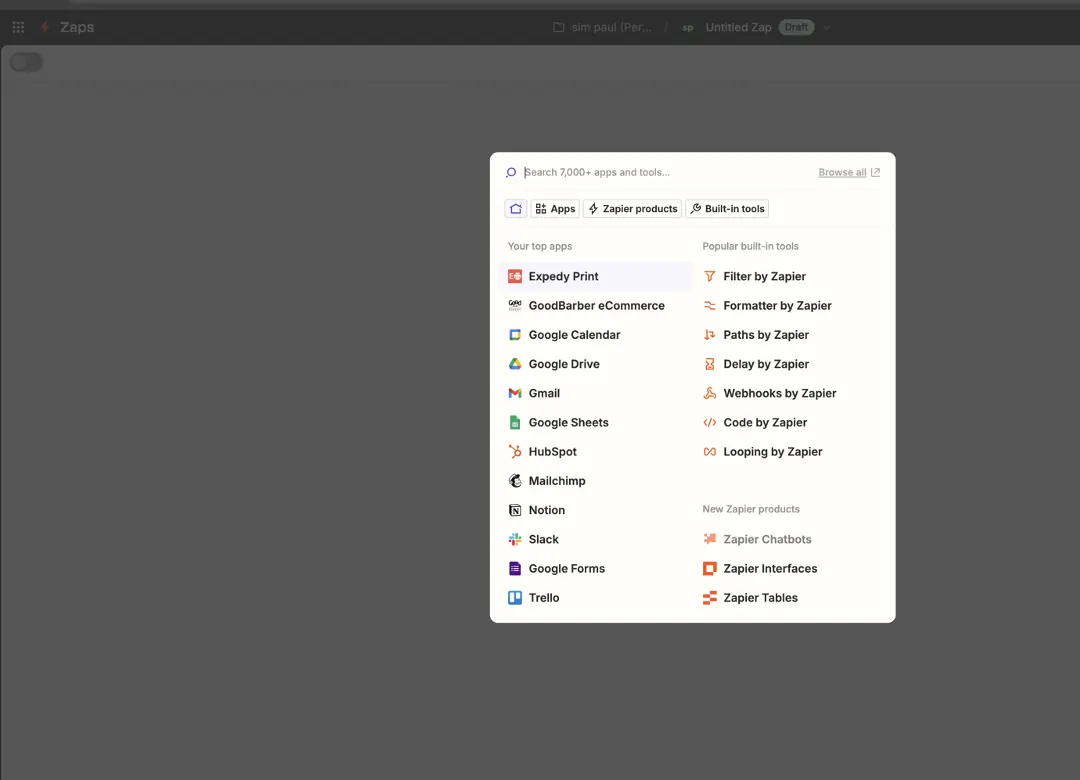
Click the Action block and select Expedy Print.
Choose Create a Print Job as the action event.
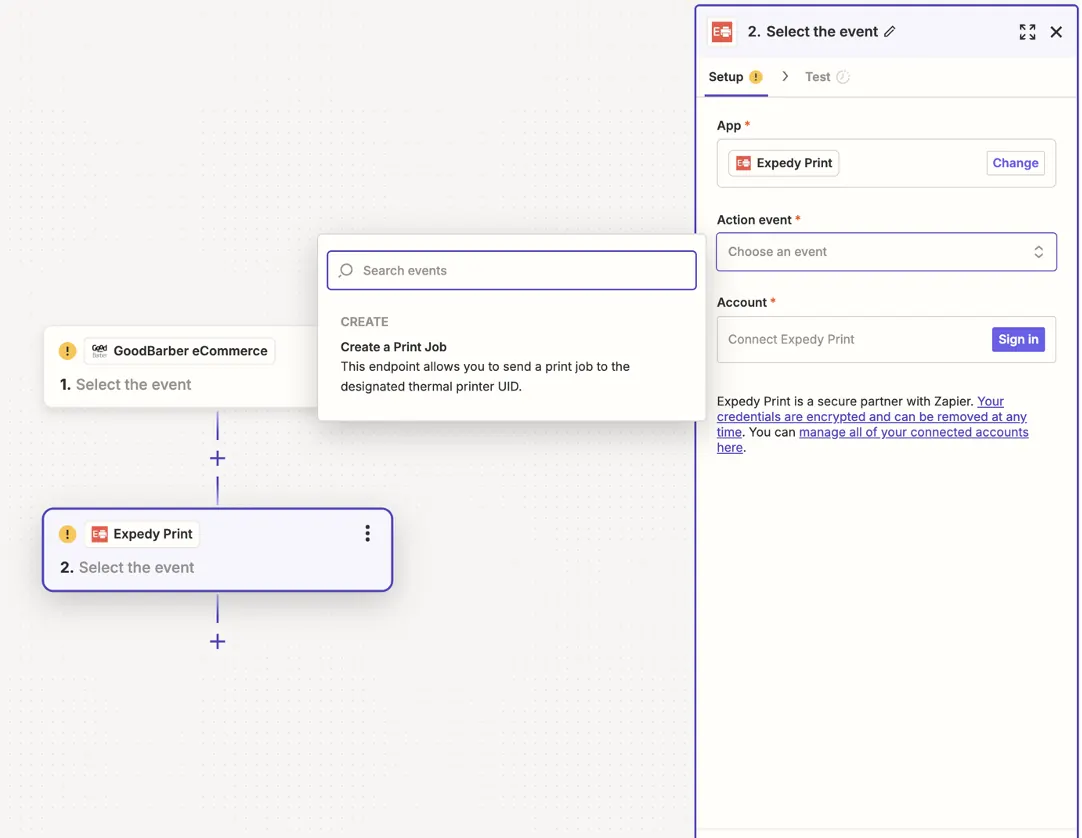
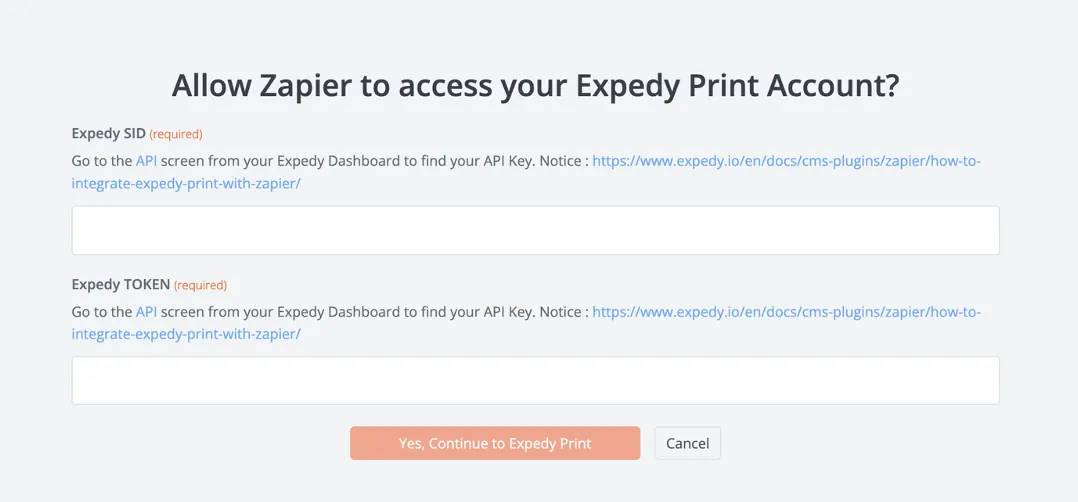
Connect your Expedy account with your Expedy SID and your Expedy TOKEN. Both are in the Expedy console, on the printer page, in the API Keys & UID card.
Then fill in the print job:
| Field | What to enter |
|---|---|
| Printer UID | The API Printer UID, from the same API Keys & UID card |
| Message | The receipt content, built from the GoodBarber order fields Zapier offers: order number, customer, items, total, delivery address |
Use the receipt layout tags to align, resize and emphasise text, and the image tag to print your logo.
Step 5, Test, then turn the Zap on
Click Test action. A ticket should come out of the printer. If Zapier returns an error, check the Expedy SID, the Expedy TOKEN and the Printer UID.
Then click Publish to turn the Zap on. From that point on, every new GoodBarber order prints automatically.
You can confirm each job in the console, on the printer page, in the Print Jobs History panel.
Going further
A question? Open a support ticket